
Since my last post I've acquired all of the components I plan to use in this project:
3 Potentiometers - to be multifunctional and control various parameters
1 Ribbon Potentiometer - for controlling assigned groups of parameters in unison
1 Force Sensitive Resistor - to acts as a pressure sensitive expressive control over parameters such as pitch-bending and filter cutoff
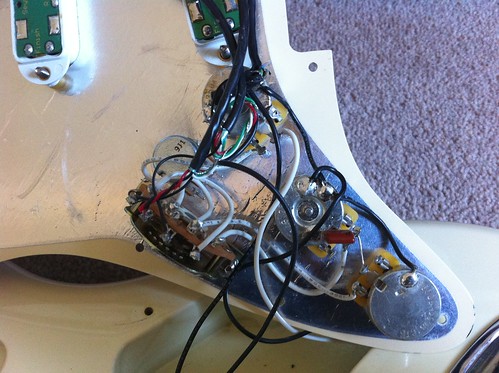
After getting hold of all of these parts, as well as various extra tools and guitar related items, yesterday I finally embarked on the modification of the guitar. This brings me to the next step of the project, solving logistical issues. The principal issue so far concerns space: there's not a lot of it. This can be seen in the photos of the Stratocaster cavity and existing components below:
 |
| Limited space in the control cavity. |
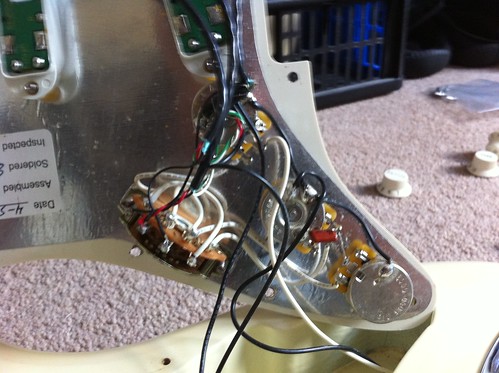 |
| Limited room around existing components. |
As it is, the Arduino Duemilanove simply won't fit easily enough into the control cavity, therefore I will be opting to mount it to the back of the guitar in some form of case. The wires between the Arduino board and the components that will fit into the guitar will run together out of an additional hole in the scratch-plate to the board. Inside the guitar will be a cut-down prototype board with any additional components attached - resistors etc. - which will be connected to the the power and the ground on the Arduino, as well as the main controls attached to the scratch-plate.
Having decided how everything will be integrated into or onto the guitar, I have started the task of measuring out where all the components will fit and begun attaching them. The very first potentiometer has been mounted on the scratch-plate and can be seen in the photos below. Over the coming days I will set to work adding the others, checking the suitability of their positions, then adding all the necessary wires. Stay tuned for Part 2.
 |
| The first potentiometer squeezed in (to the bottom-left of the topmost existing pot). |
 |
| One down...stay tuned for further updates! |
No comments:
Post a Comment